When to change the strings of your guitar

Do not wait for a string to break before replacing it. Strings lose their brilliance and response for many reasons, including corrosion from perspiration acids, contact with the frets, and even a player’s touch and playing style. The amount of time required for strings to “go dead” varies considerably from player to player and string to string. You can best compensate for the loss of tonal quality caused by dead strings by changing them often – at least every two weeks if you play regularly and have a normal amount of acid in your system.

When a string “goes dead”, it is best to replace the entire set. Replacing only one string will usually result in it sounding “brighter” than the other strings, and the set will no longer be balanced. If you change to different string gauges, it may be necessary to adjust the neck and even the nut (and may even require re-intonation).

When changing strings, remove only one string at a time to maintain the tension on the neck and to allow the old strings to be used for tuning reference. Bring the new string up to pitch slowly to avoid breaking it, and do not clip the string to length until after it is mounted, in order to avoid unravelling.


How to re-string your guitar at the Tailpiece

Simply insert each string through the proper hole in the tailpiece. The “Ball end” of the string will hold it in place.
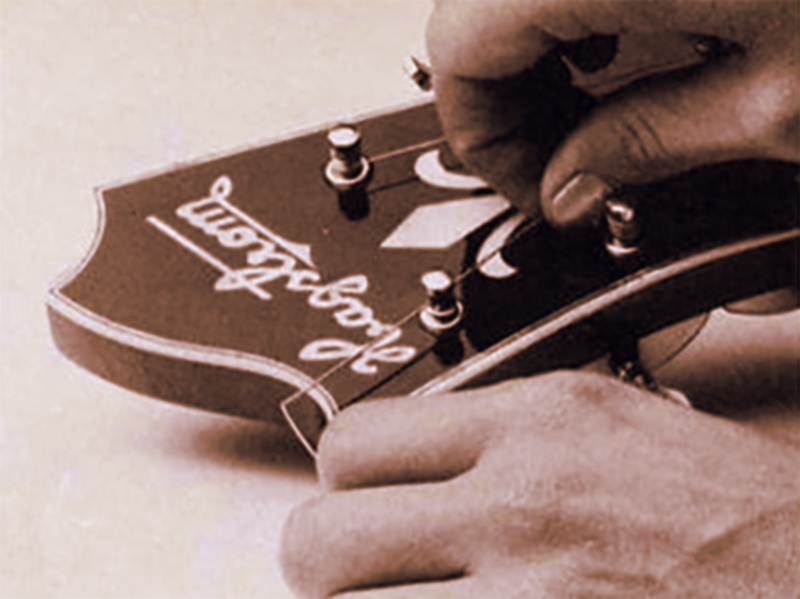
At the Neck

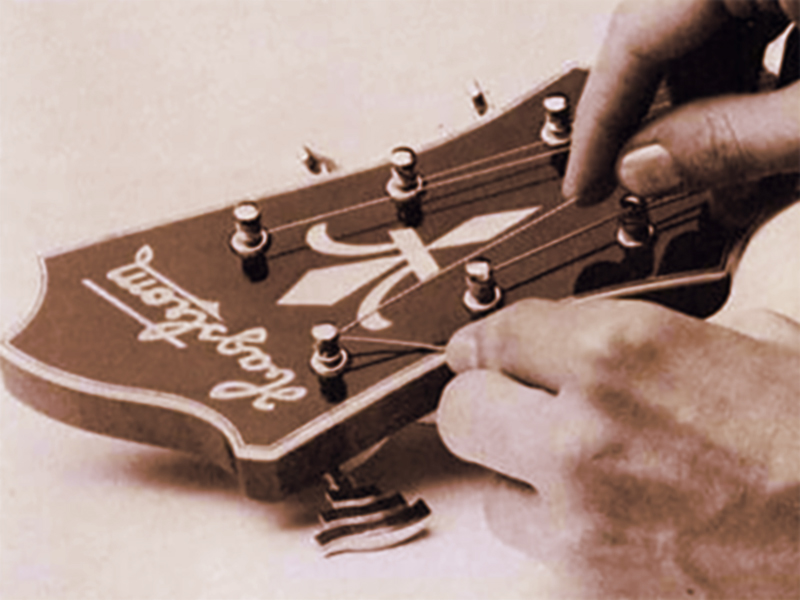
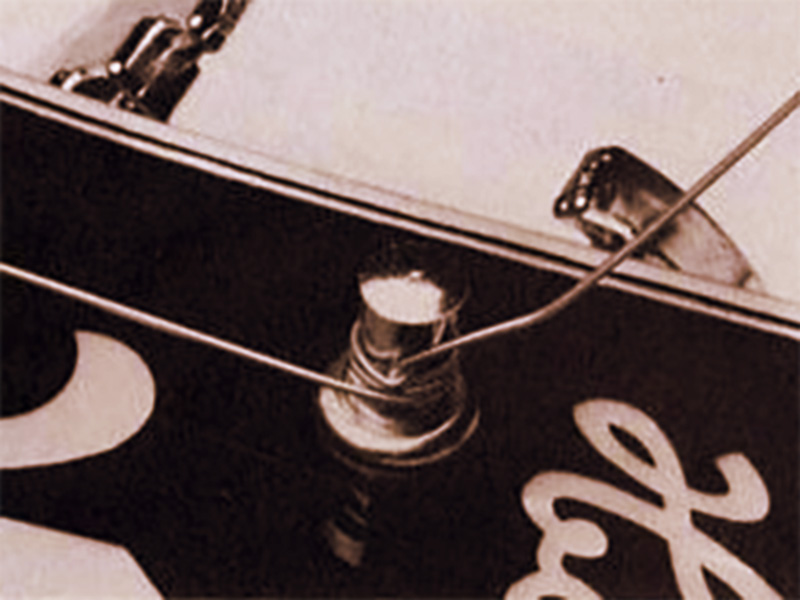
Bring each string up the neck and make a 90-degree bend in the end about 2 inches beyond the proper tuning machine. Insert the string into the hole of the string post. Wind the end of the string halfway around the post and under the attached string. The end of the string is then bent back over the attached string to prevent slippage.
The string windings should be close to the base of the post. The string should be wound around the shaft about three times. Bring the string up to pitch before clipping the end.